Upstairs Bathroom Project
(2011)
In 2011 the Board elected to abandon plans to add a passageway to Suki's room (reducing the size of the bathroom) and instead remodel the existing bathroom and replace the leaking cast iron pipe connecting to the septic tank. Work began over Columbus Day weekend and will continue in the spring of 2012 before the house opens. Because of Massachusetts law, a plumber was required for the work on the water feed pipes and the drain pipes. We used Bennett Plumbing in Falmouth because Steve MacNally was unavailable at the time. The planned project involved removing the old linoleum, replacing with ceramic tile, using sheetrock on the walls, tiling around the tub (removing the shower option completely) and replacing the toilet and sink, but retaining the existing tub. Materials were selected by the Board during a visit to Lowe's in Wareham.
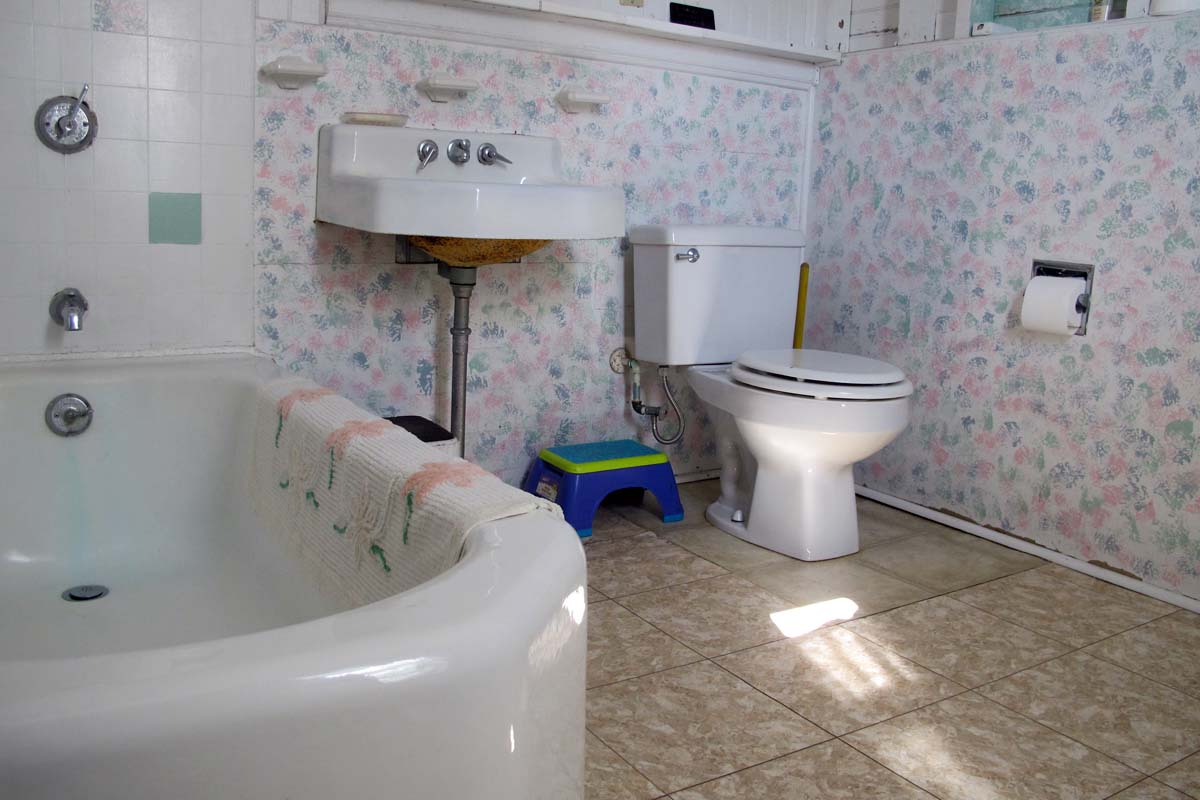
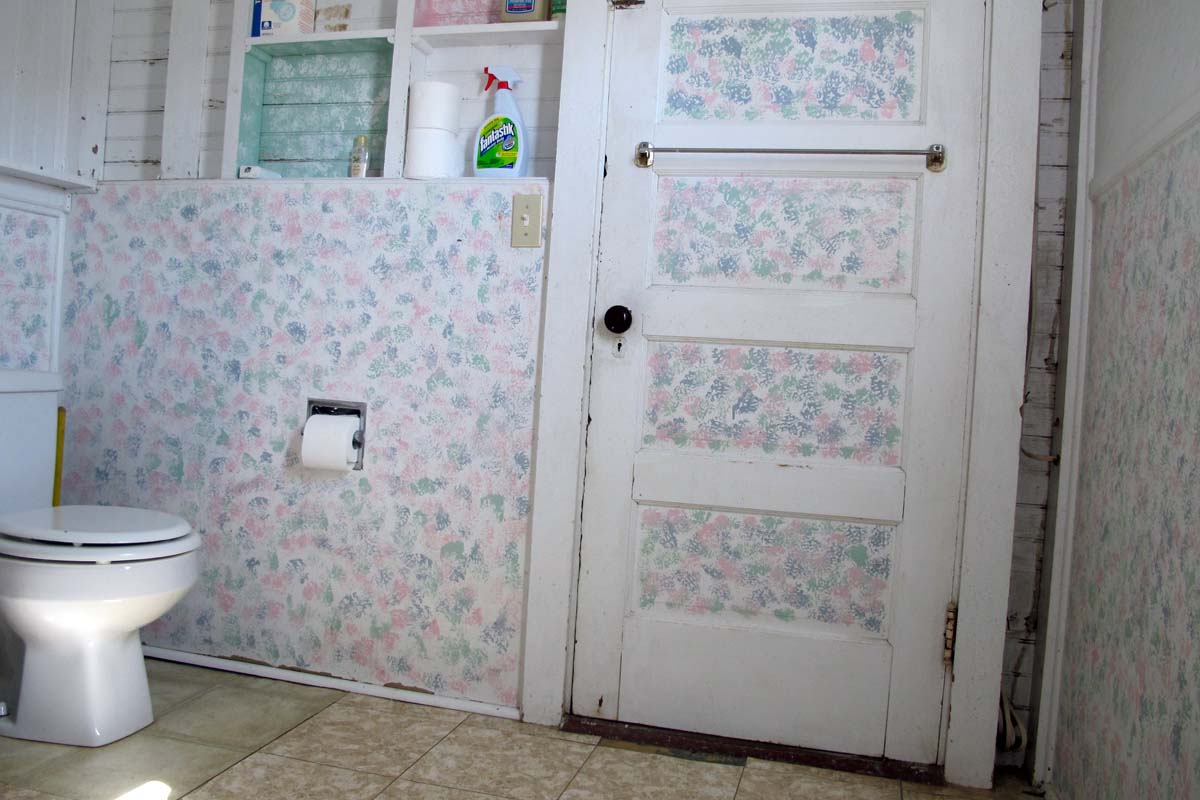
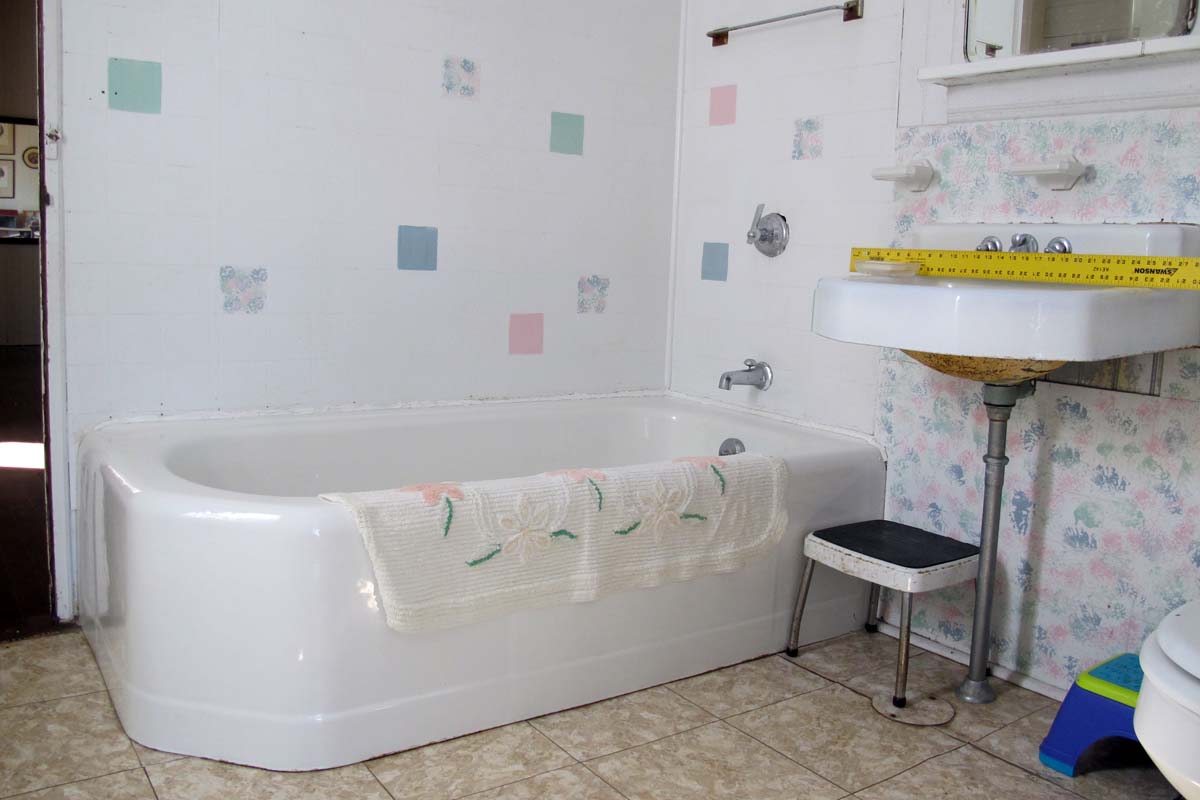

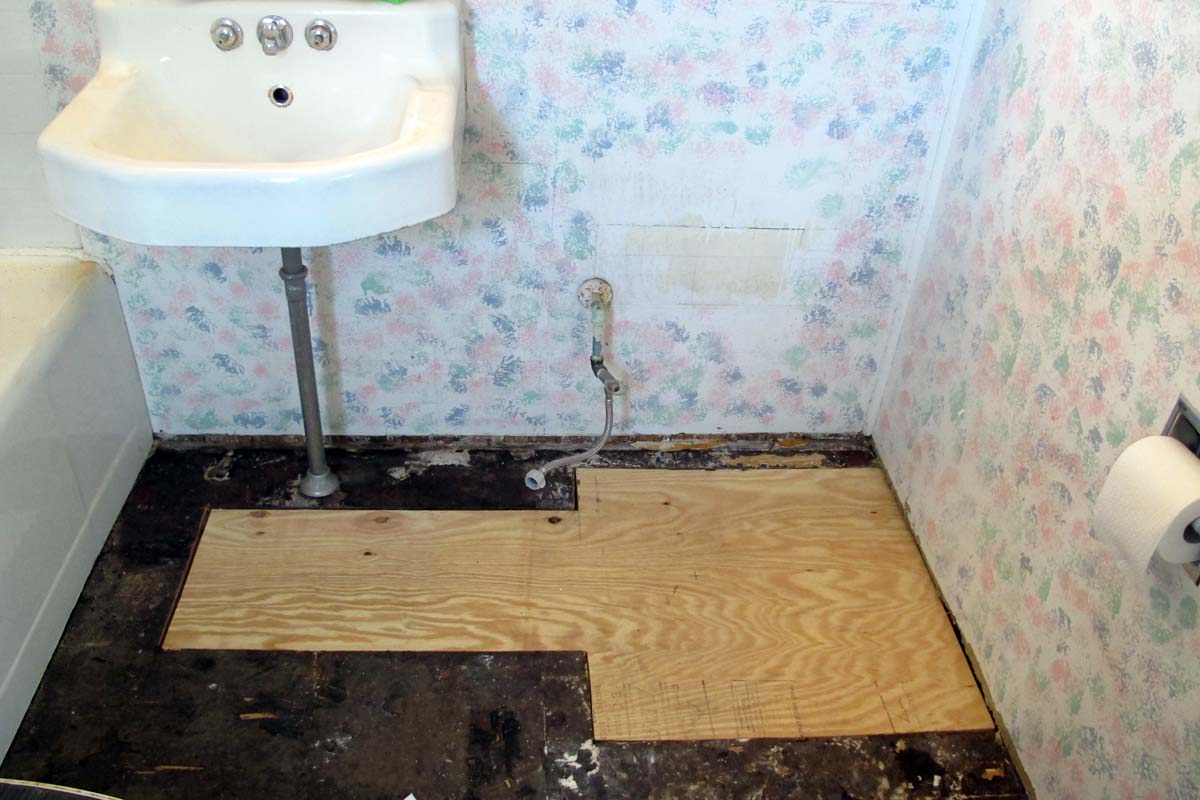
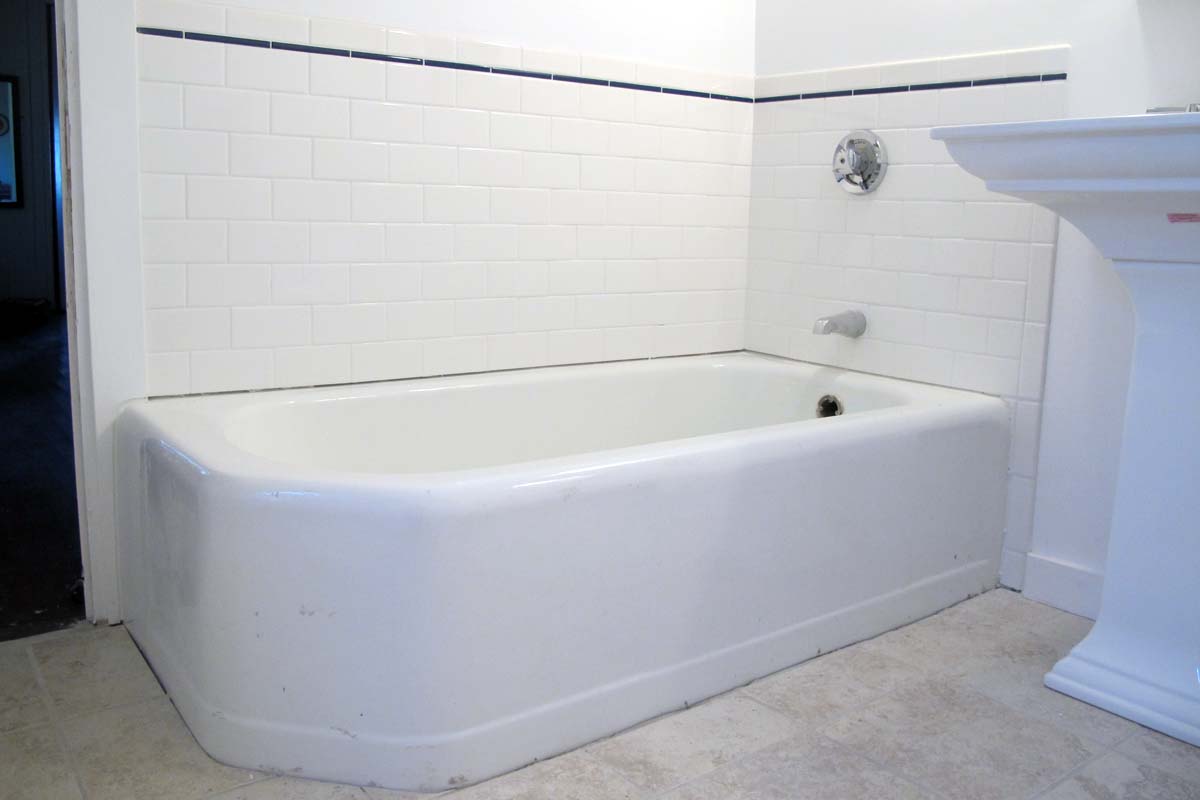
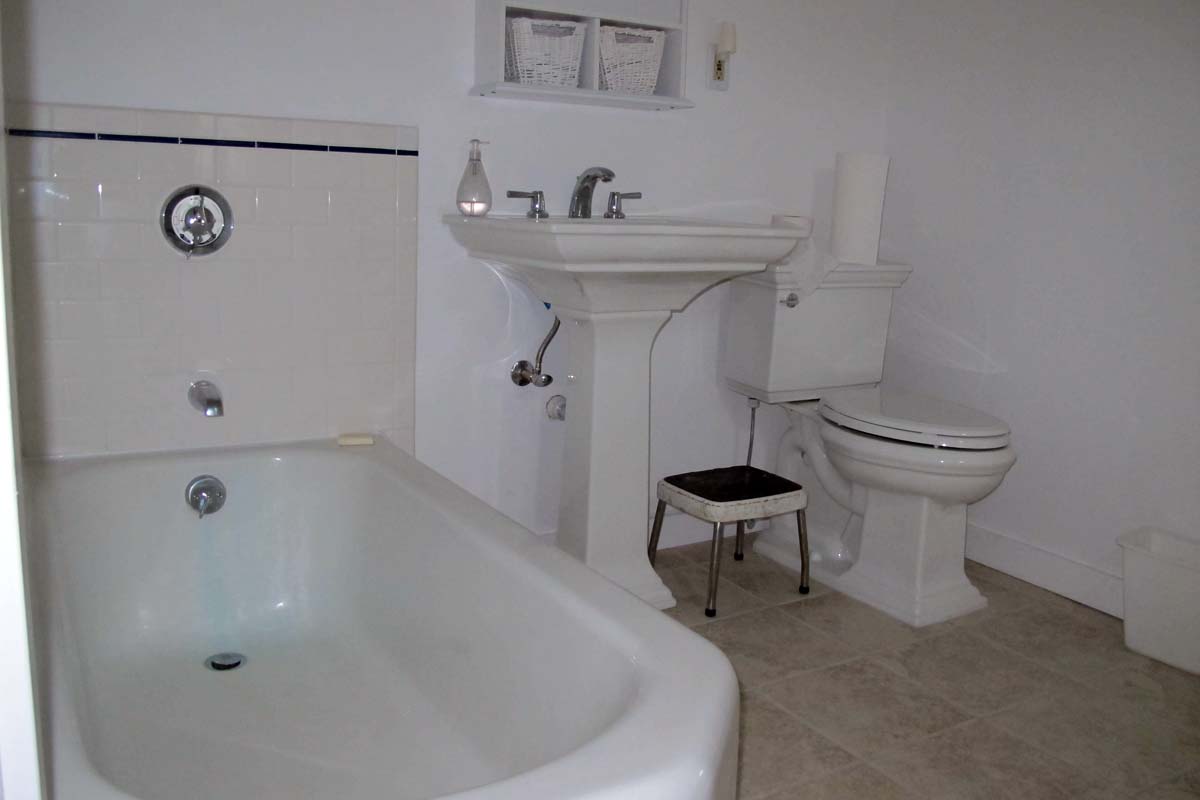
Existing Bathroom Prior to Remodelling

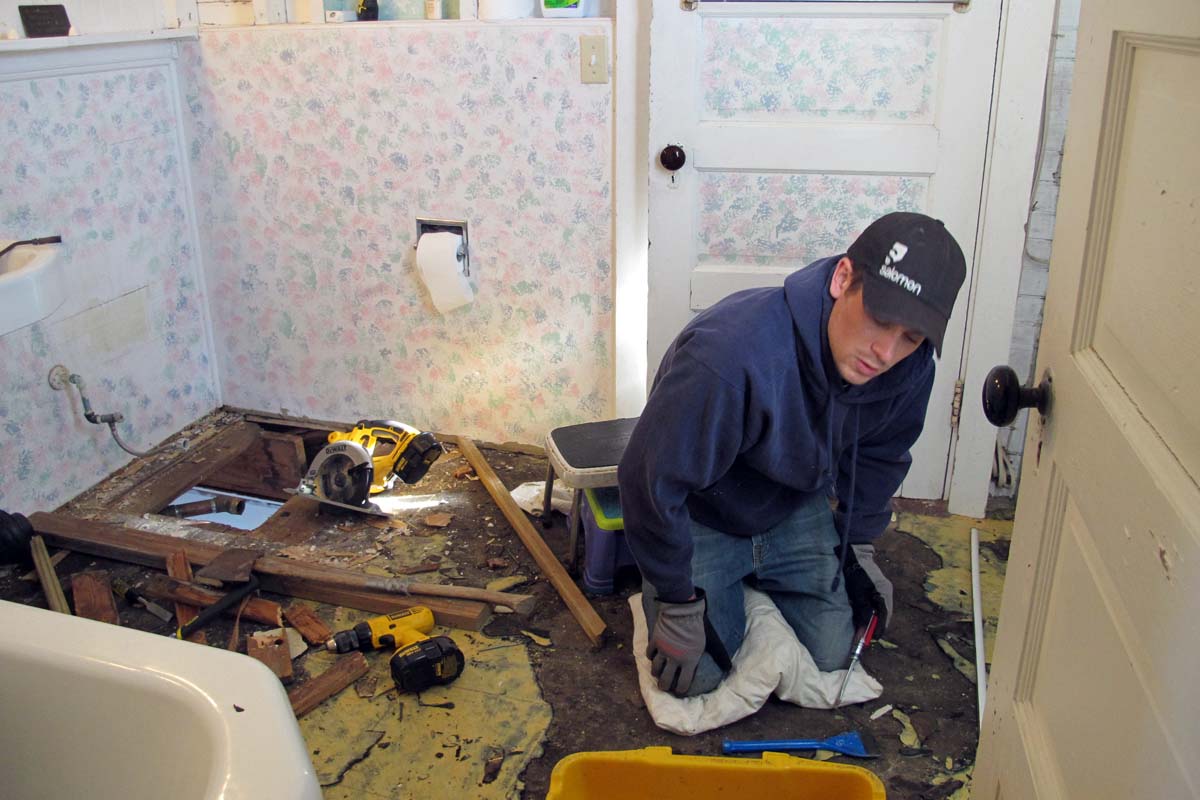
The first step after removing the sink and toilet was to pull up the old linoleum. I had Gregg do most of that and it may have been some of the hardest work to do.
Not shown is the removal of the old cast iron septic pipe from over the kitchen to the garage, which was done by hammering it into pieces and pulling them out. That was probably the second hardest task and I was glad to have Gregg doing that for me, especially the hammer part.
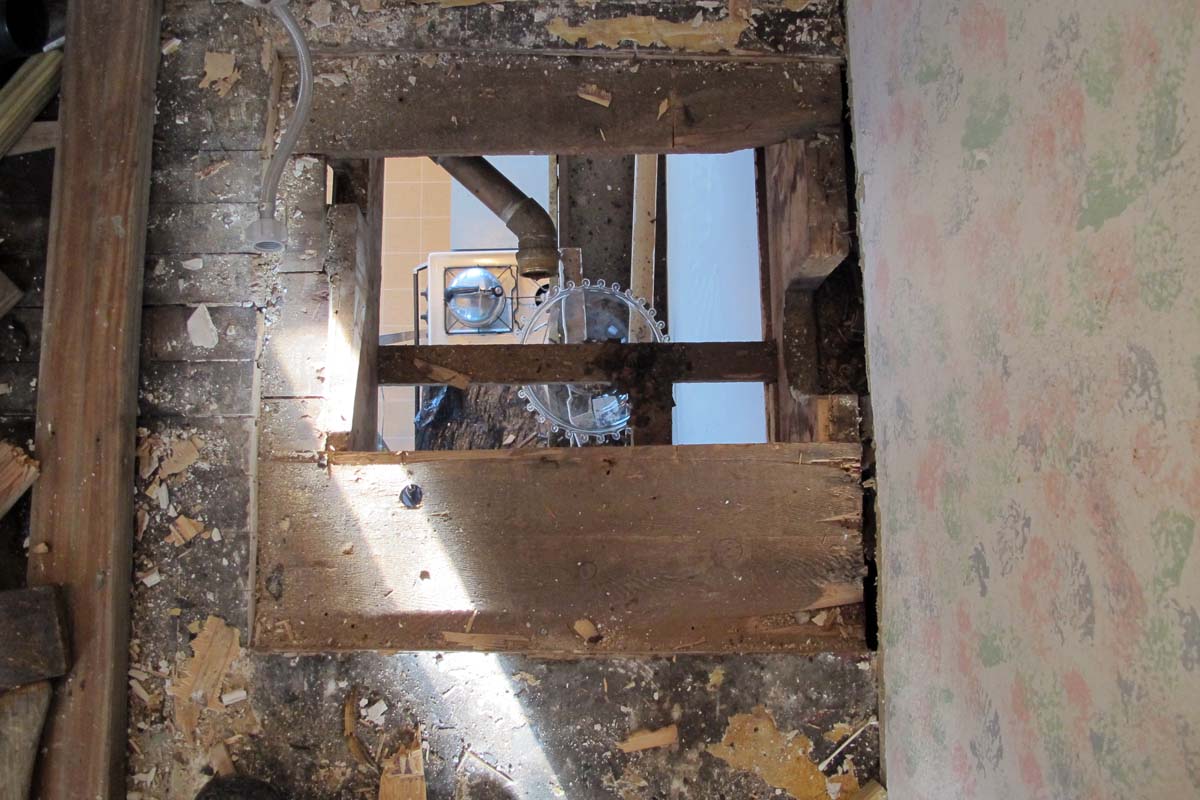
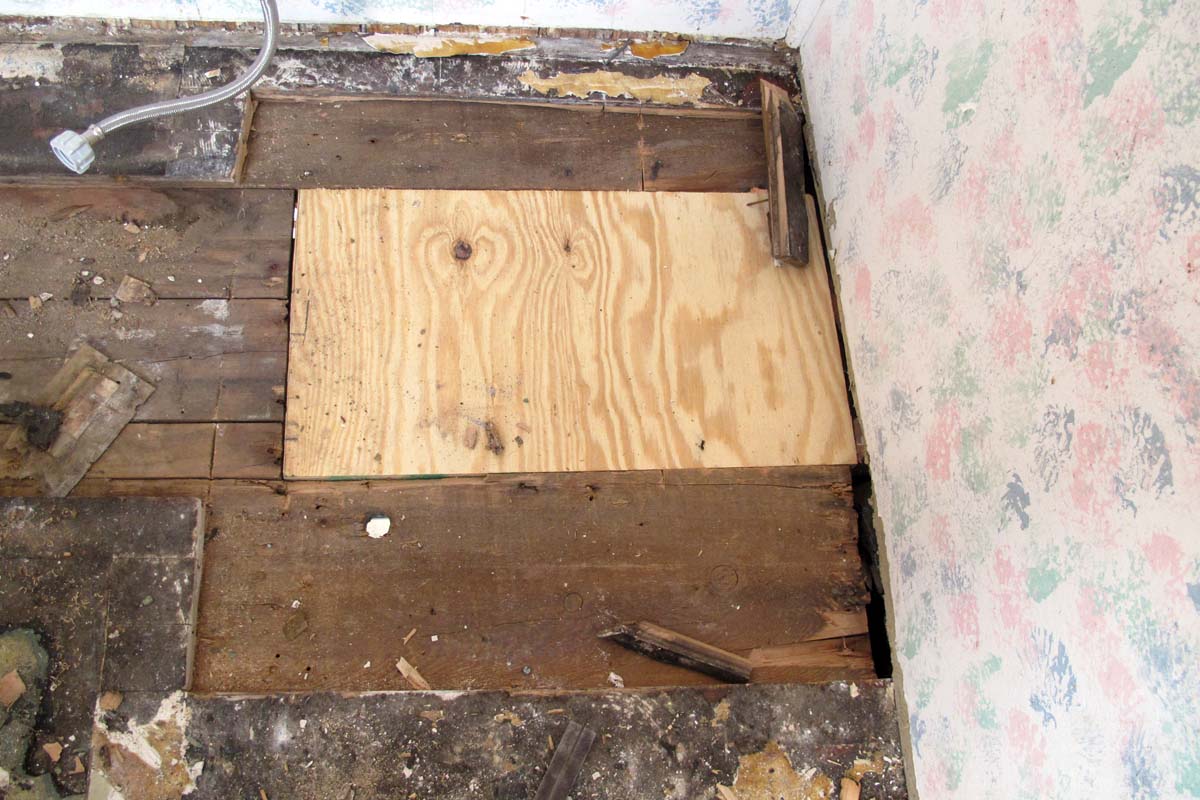
Any loose or decayed subflooring was removed and replaced with 3/4" exterior grade plywood, showing a smaller bottom layer spanning the joists, covered with a larger piece covering that and a portion of the plank subfloor.
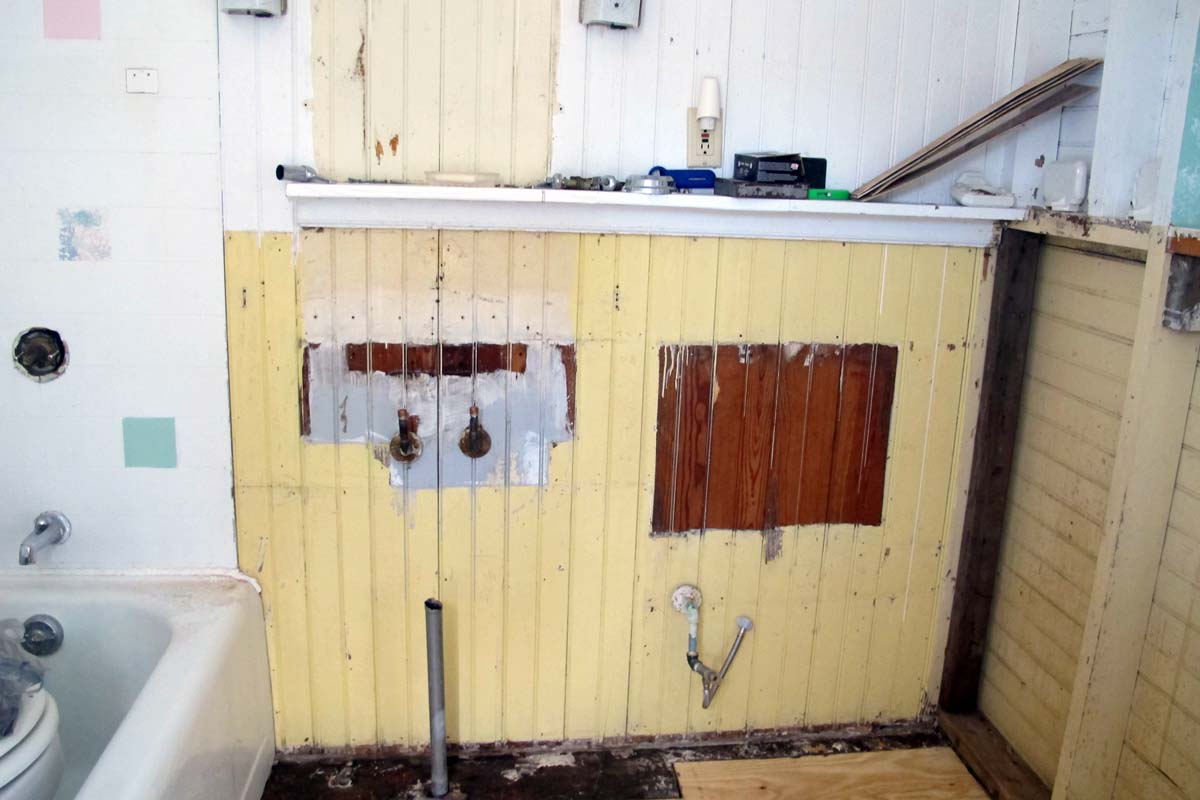


We then removed all of the masonite and all of the wallboard from 3 walls, leaving the masonite on the west wall (by the shower) to serve as spacer to prevent sheetrock screws from poking through into the hall. Insulation was sealed into the exterior wall with Great Stuff, since it was easily accessible and not particularly costly to do.

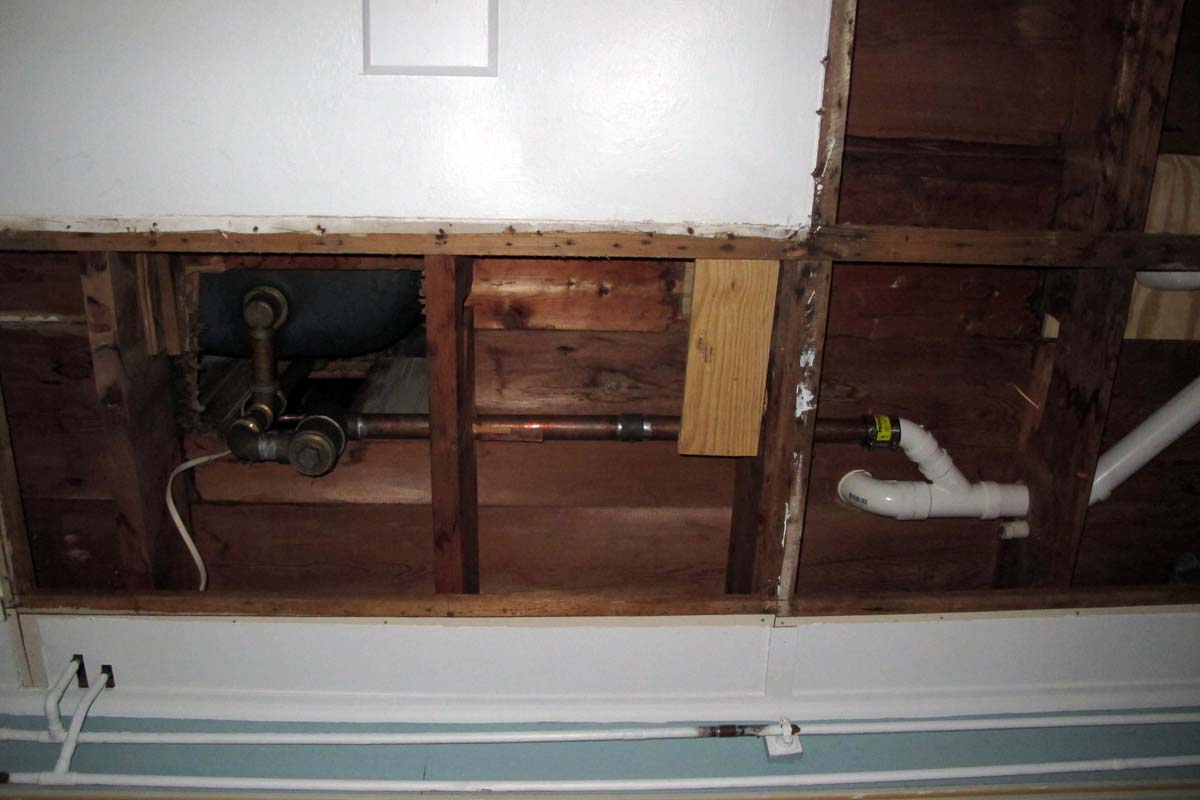

At this point the plumbers arrived. They installed a 3" toilet drain, new pipes for the sink and toilet, a new control valve for the tub, and new required venting for the sink, tub, and toilet, which also involved splicing into the old cast iron vent pipe in Suki's room.
I had earlier installed two shutoff valves to the upstairs water to allow us to use the downstairs while working on the upstairs project. Those may come in very handy later, as well.


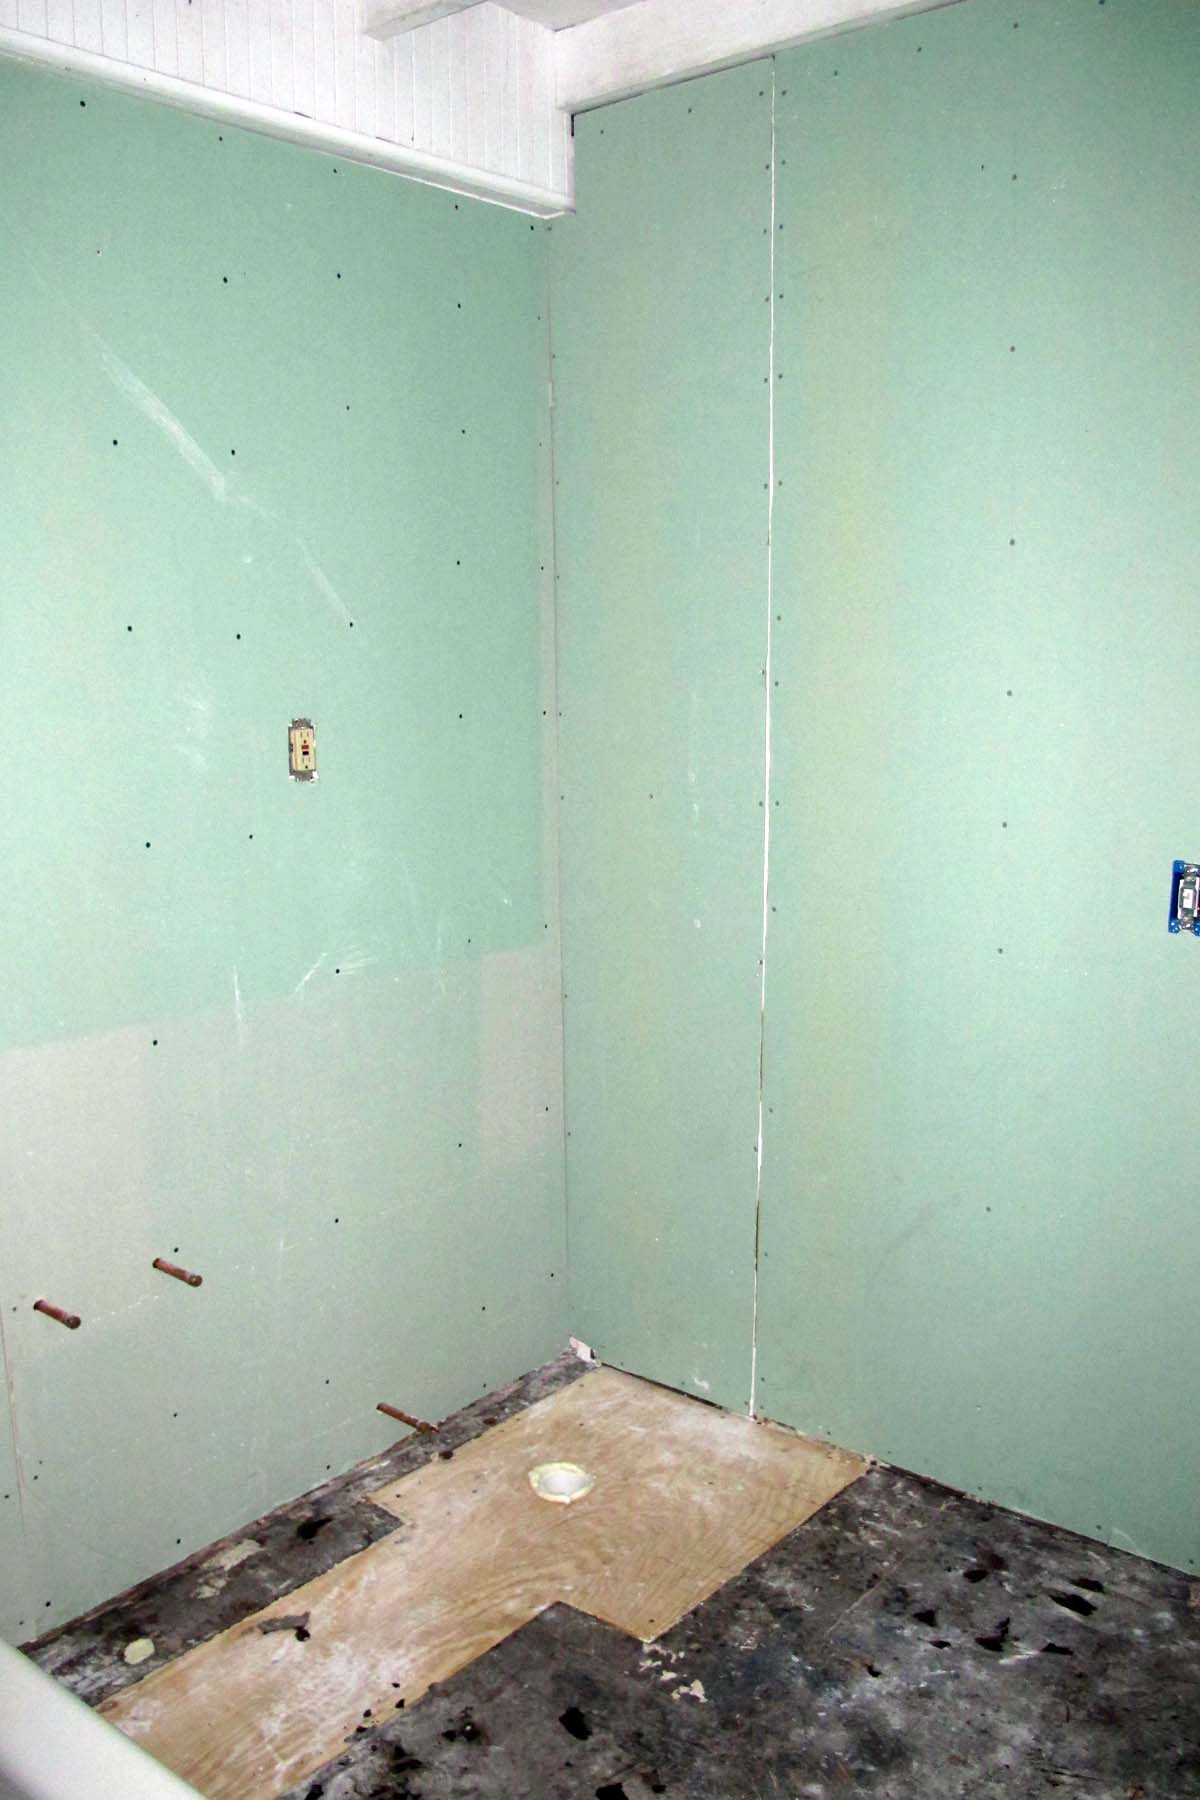
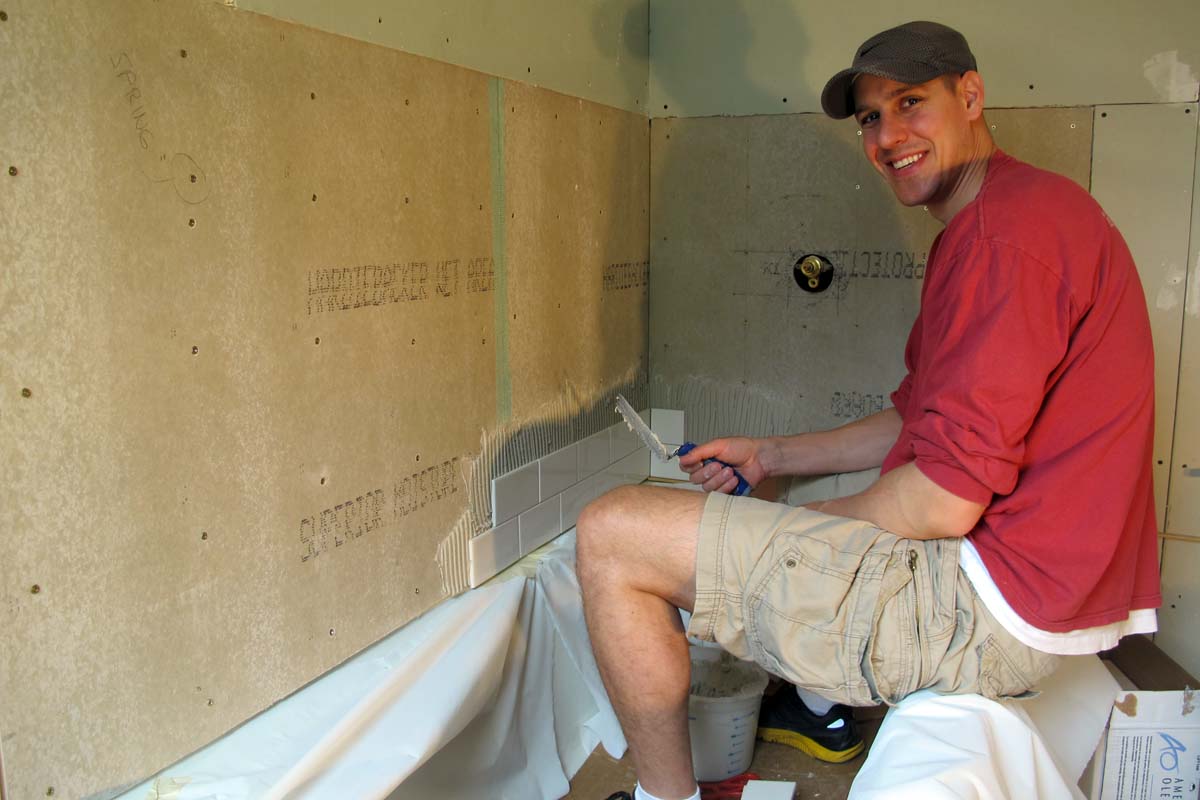
Mold resistant sheetrock was installed on all 4 walls, with 1/2" Hardibacker board place around the tub for wall tiling.

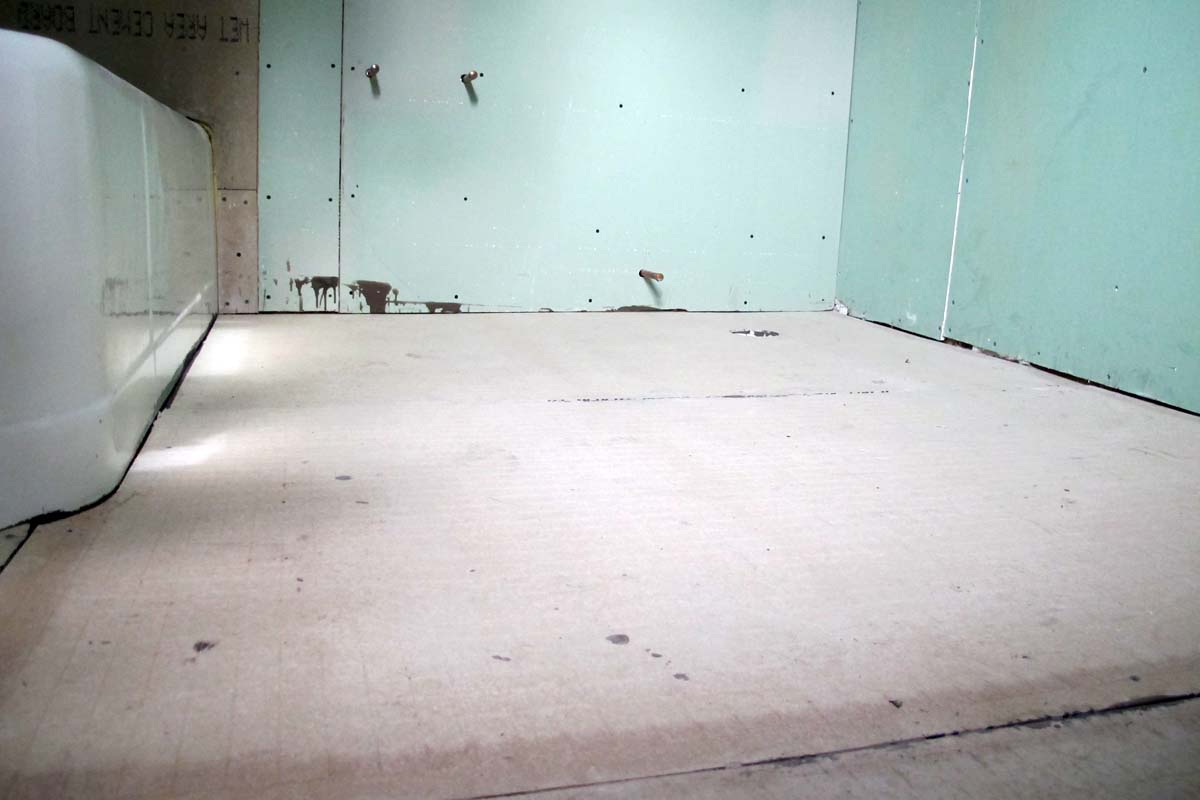
Self levelling floor compound (cement based) was poured and 1/4" Hardiebacker board was screwed into the subfloor and seams were sealed with tape before tiling.

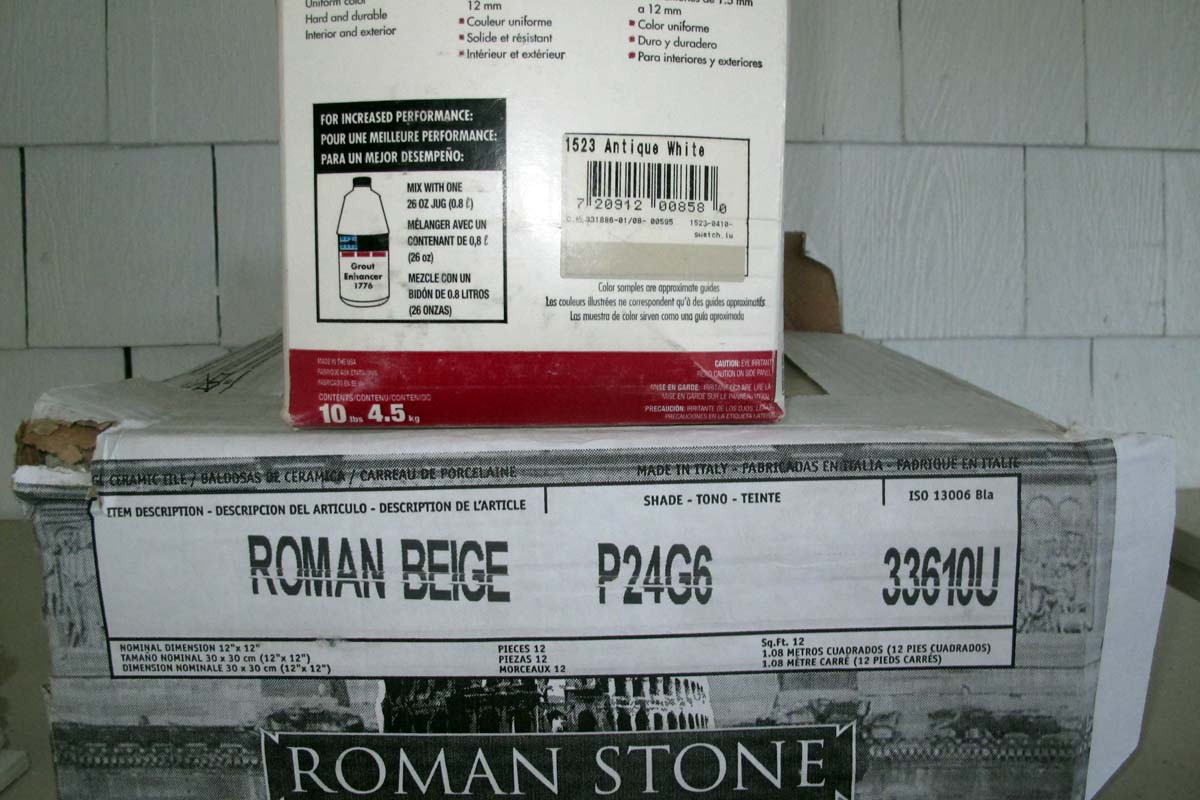

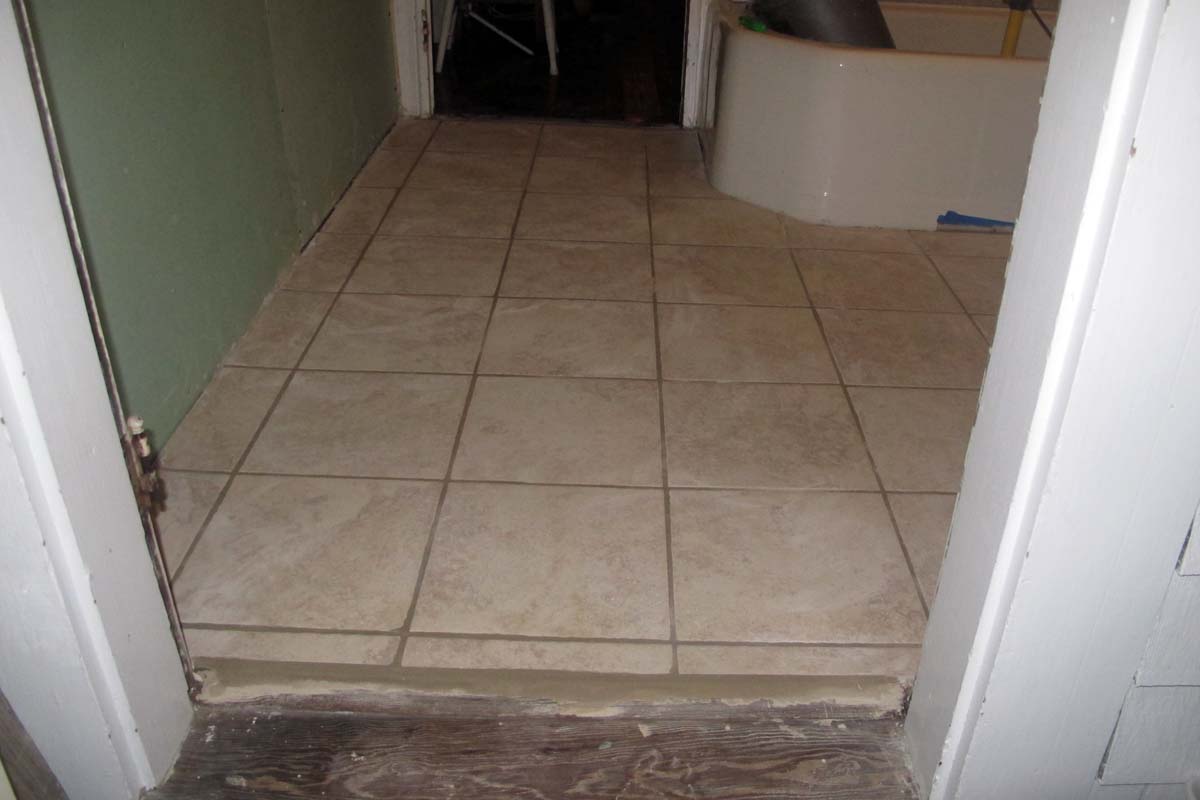
Using Roman Beige tile and the grout shown (purchased at Lowe's) tile was placed (Laticrete thinset MultiPurpose PRO) and allowed to cure for 24 hours before grouting.
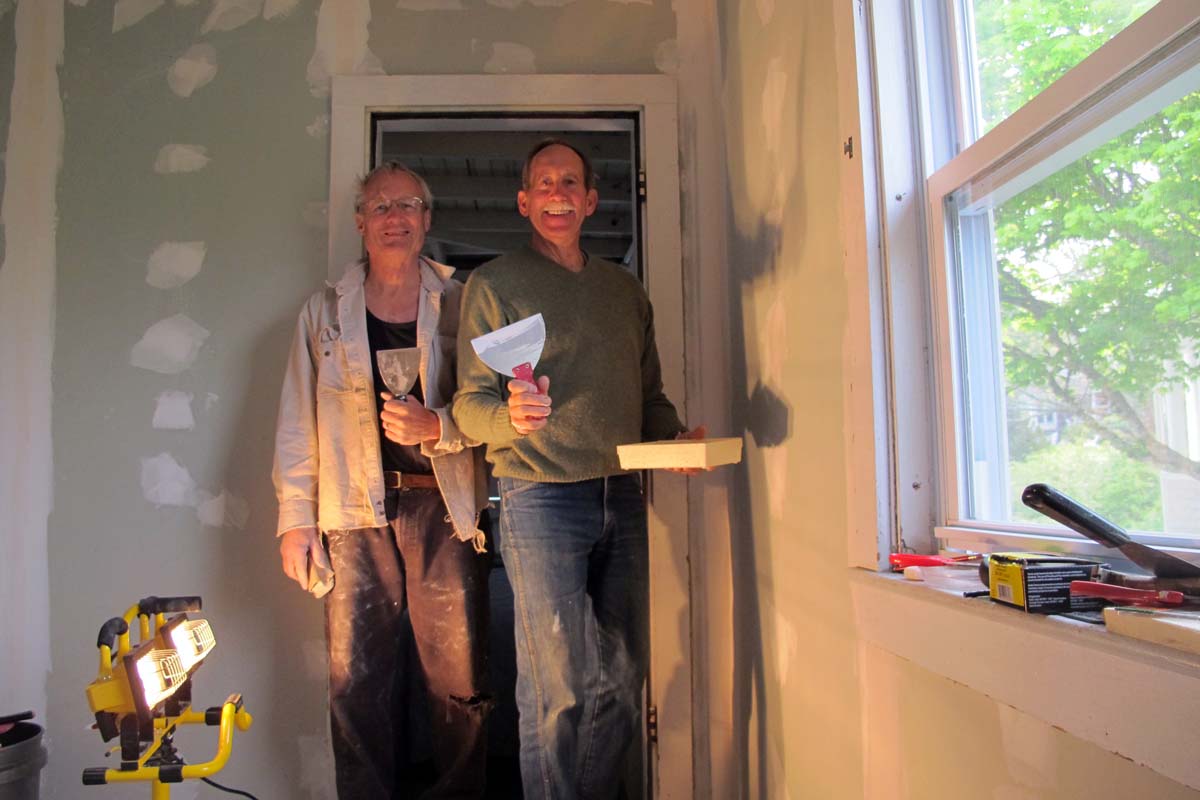
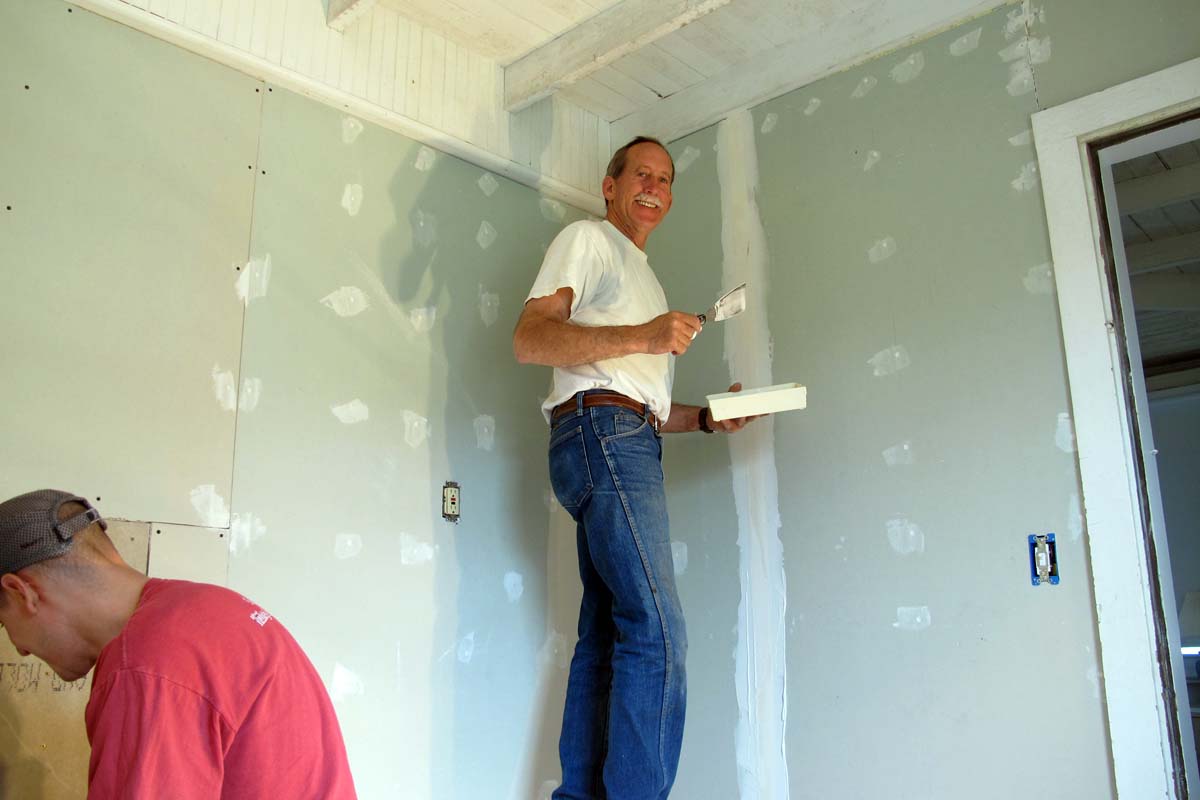
At this point the remaining tasks are to spackle the sheetrock, install the tub tiling, paint the walls and ceiling then install the toilet, sink, and fixtures. We hope to organize a work crew in May to complete the renovation.
May - 2012
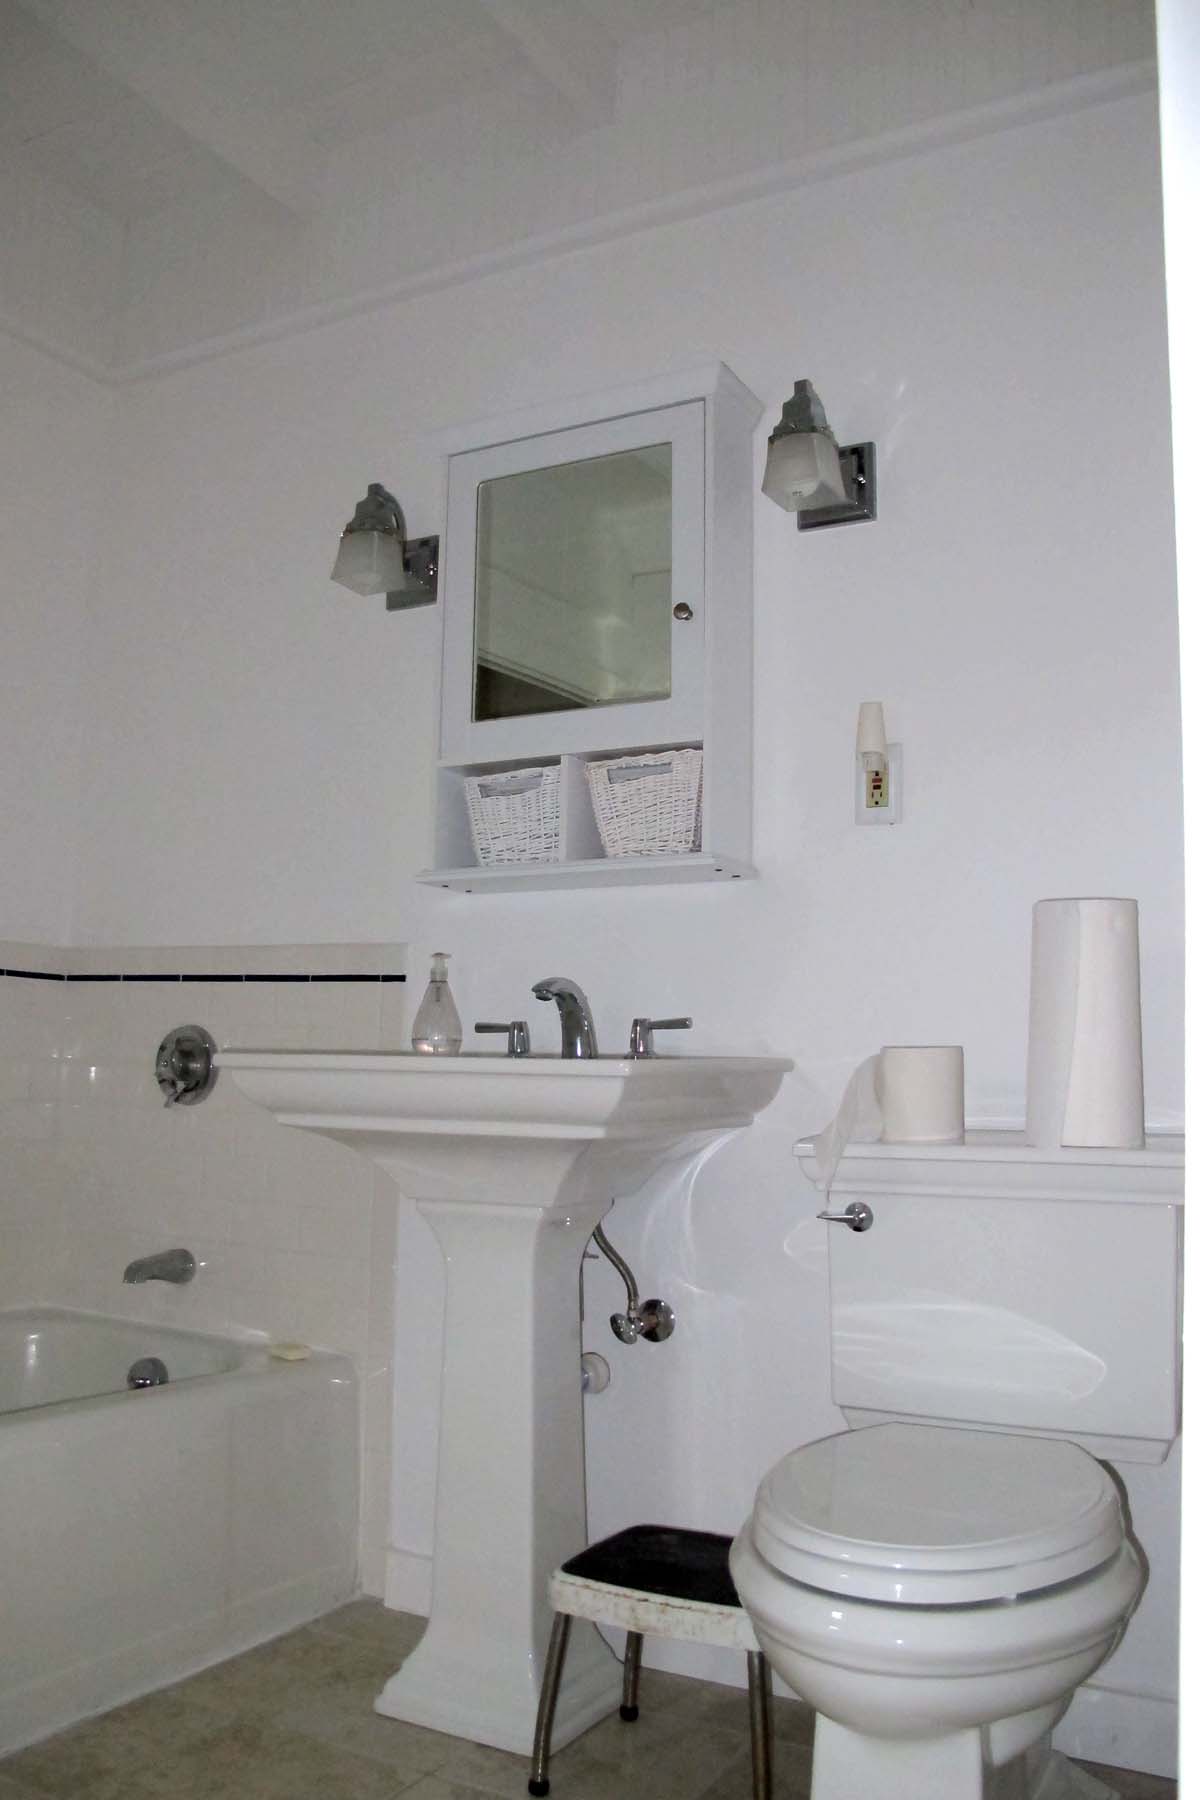
Blay and John took the bus from Pittsburgh, Chris drove down from Boston (twice), and I came from Vermont to finish the project. It took almost 10 days to finish, but the project is completed and the bathroom has a new fresh, clean, and functional appearance. We'll be adding a few fixtures and final touches over the next few weeks.
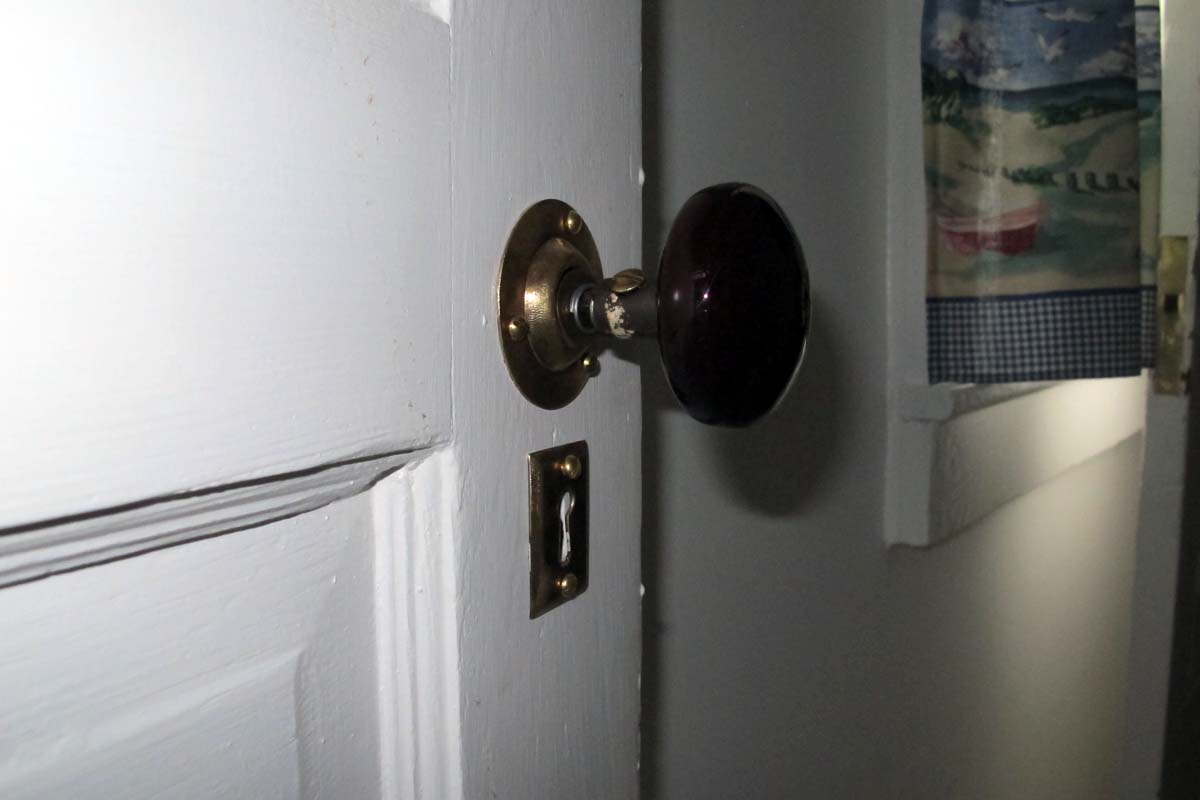
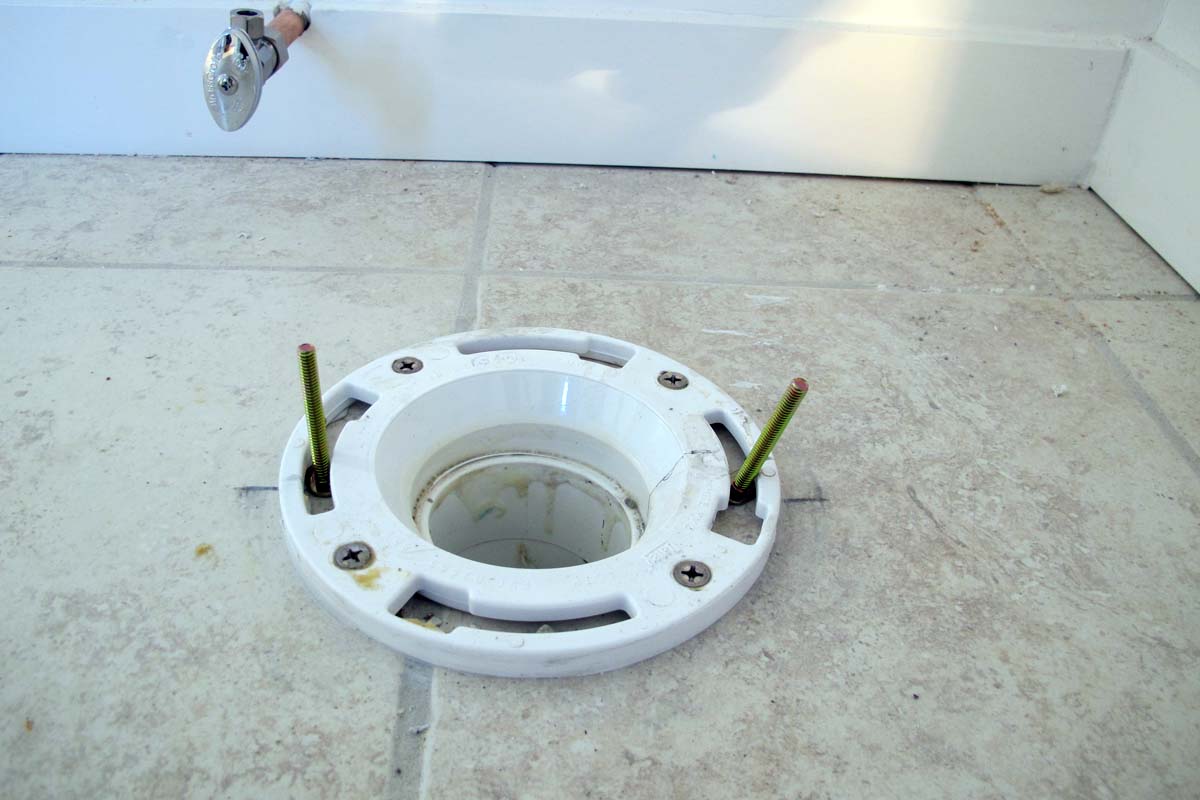
Toilet drain is plastic, bolted to floor and sealed with caulking. The doors were completely stripped of all old paint, and the hardware was cleaned and repaired where possible, including fixing the door handle, which has never worked during my lifetime, on the hall side door. (I found a replacement component in New Bedford.)
5/20/12